


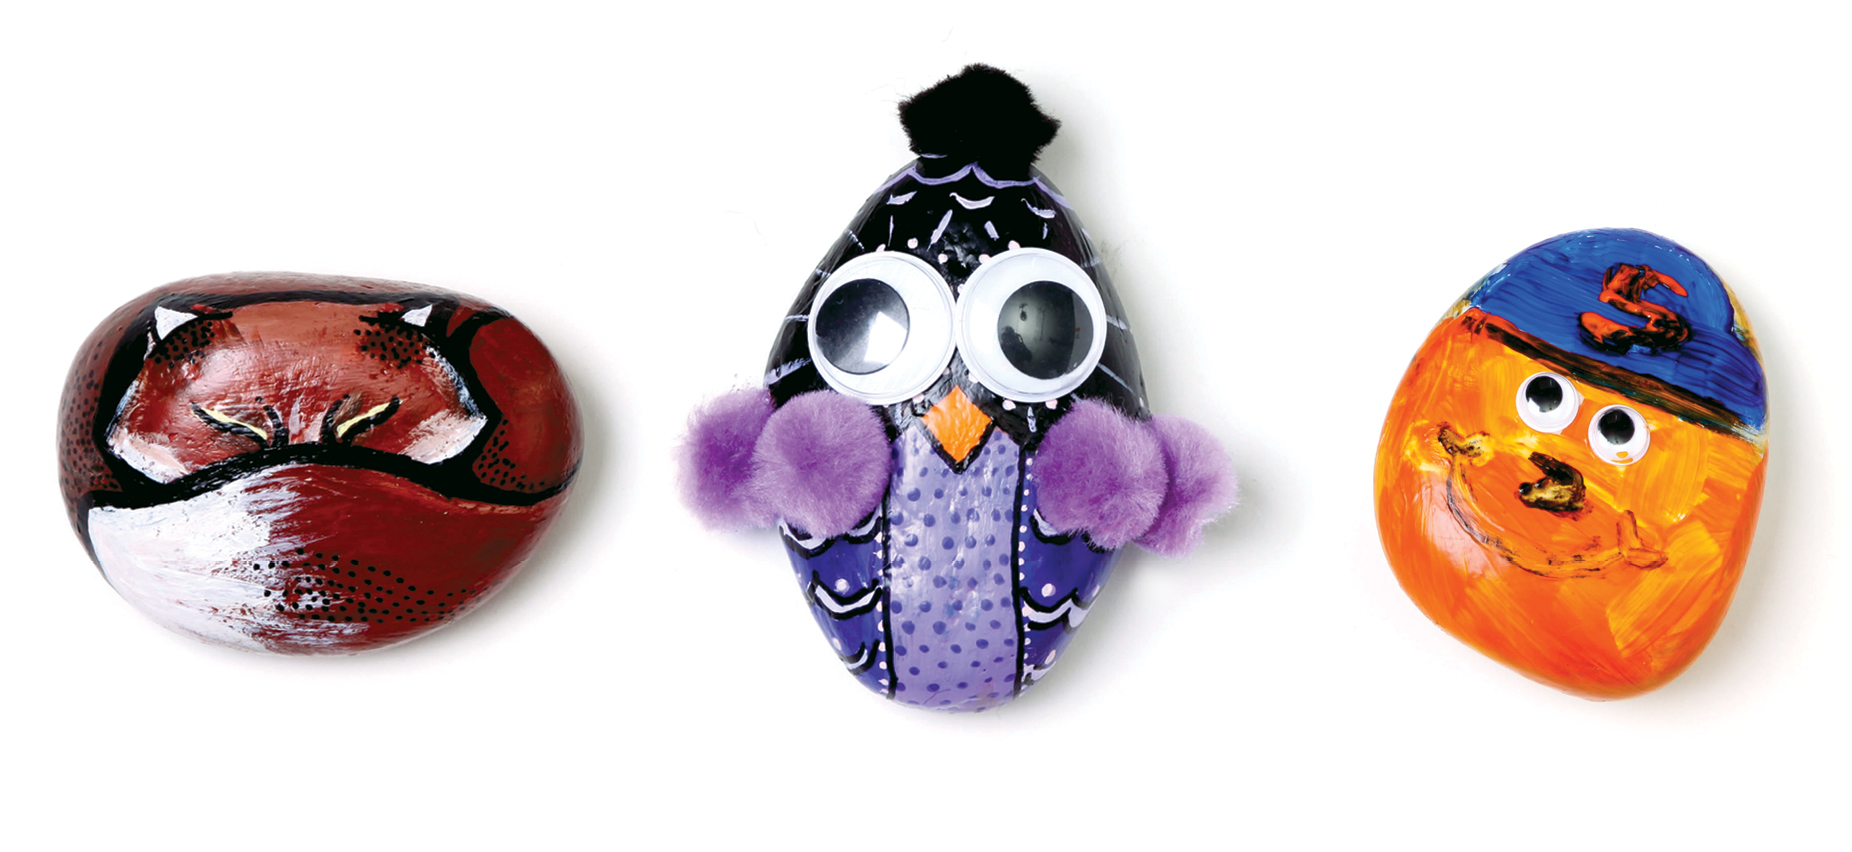
I have always made it a point to spend time with my kids doing something creative. Not only does it give us time away from TVs and tablets, but it also gives us time together. Rock painting is one of my favorite inexpensive and easy crafts to do with kids, plus they make great gifts.
First you need rocks. You can purchase smooth, round and oblong river rocks at the craft store, or you can go on a nature walk in your yard or at your favorite park and find some uniquely shaped stones to paint. Imagining what your rock could become is part of the fun.
Materials:
- Acrylic paint: A basic set of colors including black and white.
- Acrylic brushes: It is good to select different sizes. For starters, a size 6 filbert, a size 4 round, a 1/4-inch angular and a size 0 round (for the finer details) are good to have.
- Clear acrylic glaze: To give the rocks a protective layer against the elements if displayed outside or to give indoor rocks a nice sheen. The glaze is available in either aerosol spray or liquid form to paint on the rocks. It is best to use the liquid form as it adheres best, and you can use it indoors without fear of fumes.
- Toothpicks: These work great for tiny details or dots.
- A cup of water: To rinse brushes.
- Paper plates: To use as your artist palettes.
- Parchment paper: To set the rocks on to dry.
- Paper towels: For clean up.
- Newspaper or a plastic tablecloth from the dollar store: To protect your work surface.
- Pencil: To sketch out your design on your rock.
- Fine point sharpie marker: For outlining and detail.
Instructions:
1. Cover your work area with either old newspapers or a disposable plastic tablecloth.
2. Set out all your brushes, paints and rinse cup.
3. Priming your rocks will make the colors appear more vibrant. You can use white acrylic paint or wall primer. Paint your rocks on both sides, getting all the crevices, and let dry for one to two hours.
Tip: If your rocks are dirty or muddy, make sure to wash them off before priming them.
4. If you choose, you can sketch a design on your rock before you apply paint.
5. Start painting!
Tip: Parents may want to prime the rocks the night before as all areas of the rocks need to be covered and it can get a bit messy.
6. Let your rocks dry on some sheets of parchment paper.
7. Once the rocks are dry, finish with a coat of clear acrylic glaze and let dry.
Tip: A little paint goes a long way. You only need a little dab of each color on your plate to start. You can always add more if needed. Before glazing, try using a fine point sharpie marker to outline shapes or add detail.


