Keep cool this summer with some paper fans, an inexpensive craft that is not only fun but also functional. We’re going to go over step-by-step how to make two different styles of kid-friendly paper fan: an accordion style and a Japanese style. The Japanese style fan is a little bit more complex and will require some adult supervision, but both types only need a few supplies and should provide a fun afternoon activity!
Accordion Folded Circle Fan
Materials
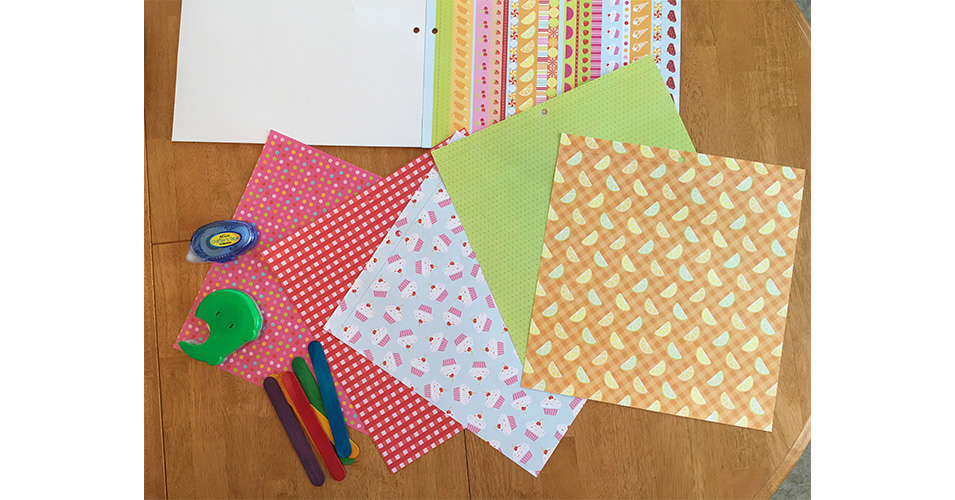

- Patterned Paper in a variety of colors and styles: A pad of scrapbook paper in a summery theme can be purchased at Wal-Mart for around $5.
- Popsicle Sticks: These can be found in any craft store and also at the dollar store, either the traditional or wider ones that can be easier for little hands to hold.
- Glue: From a hot glue gun to regular craft glue, to glue tape. Any type will do.
- Washi Tape or Clear Tape.
Steps
-
- Select two pieces of scrapbook paper with the same or similar patterns or colors.
- Fold the paper accordion-style (back-and-forth folding), starting from one short edge of the paper. The folds should be about 1inch wide. (1/2 inch if you are using the standard size craft sticks).
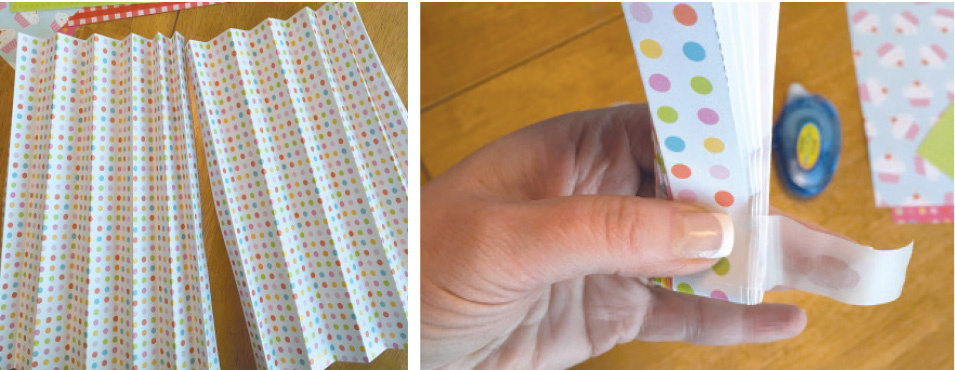
- Continue folding until you’ve folded the entire paper and do the same to your second sheet.
- Fold each piece in half and wrap the end with tape.
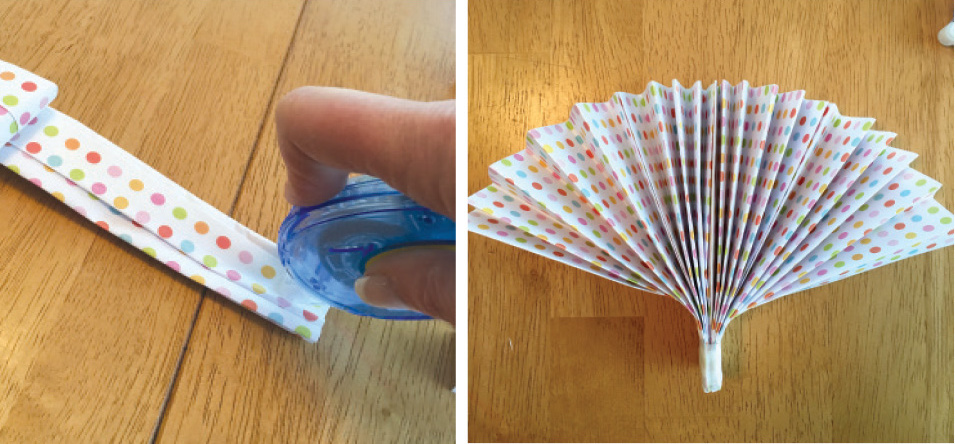
- Glue the two inner sides of your two folded mini-fans together using craft glue or hot glue. (For the glue-gun challenged, we tried some “permanent craft tape.”)
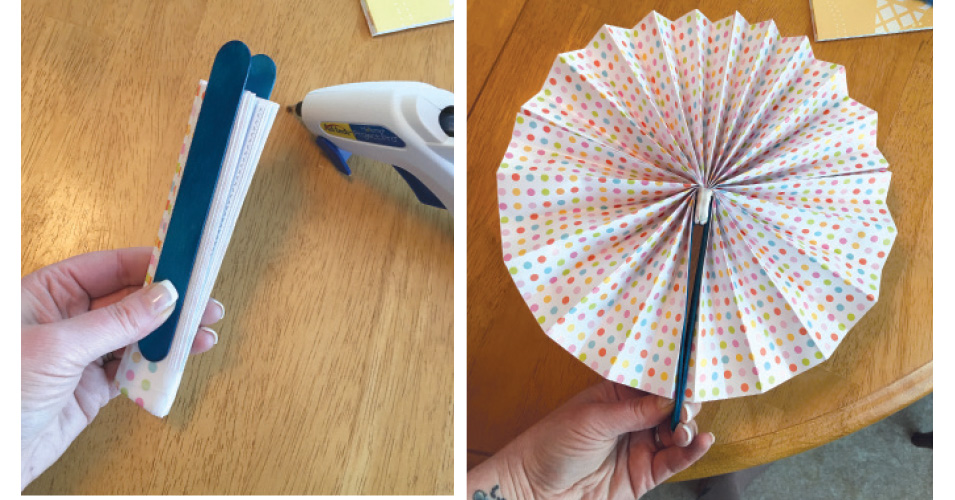
- Take two of your craft sticks and run some glue along one side of the stick and affix it the outer side of your fan. Repeat on the other side.
- Once your glue has dried, you can open your fan up by bringing the two craft sticks all the way around to meet each other on the other side.


Japanese Style Fan

Materials
- Patterned Paper in a variety of colors and styles: A pad of scrapbook paper in a summery theme can be purchased at Wal-Mart for around $5.
- Popsicle Sticks: These can be found in any craft store and also at the dollar store, either the traditional or wider ones that can be easier for little hands to hold.
- Glue: From a hot glue gun to regular craft glue, to glue tape. Any type will do.
- Washi Tape or Clear Tape.
- Paper fasteners or a short screw and bolt.
- Clear nail polish (optional)
- Pencil
- Large Mixing Bowl
- Smaller Bowl
Steps
-
- Stack 6 craft sticks together and tape them at one end with masking tape or regular scotch tape.
- Drill a hole in the end that has been taped. (The tape prevents the craft sticks from splitting during drilling.)
- Make sure the hole is wide enough for your fastener to go through.
- Push a bolt or a paper fastener through all the craft sticks and trim the back of the fastener if you can. (My husband used his handy man skills and completed these steps for me. He also painted a small amount of clear nail polish on to the thread of the bolt before tightening the nut all the way. This will help to keep the hardware more permanently in place.

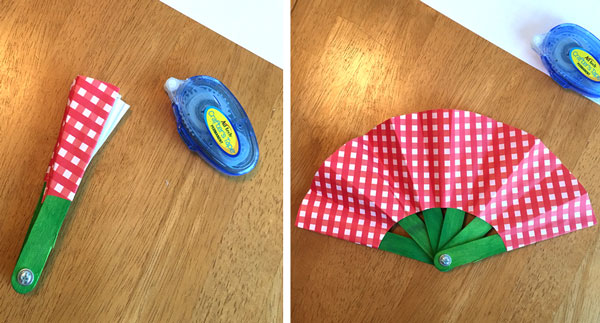
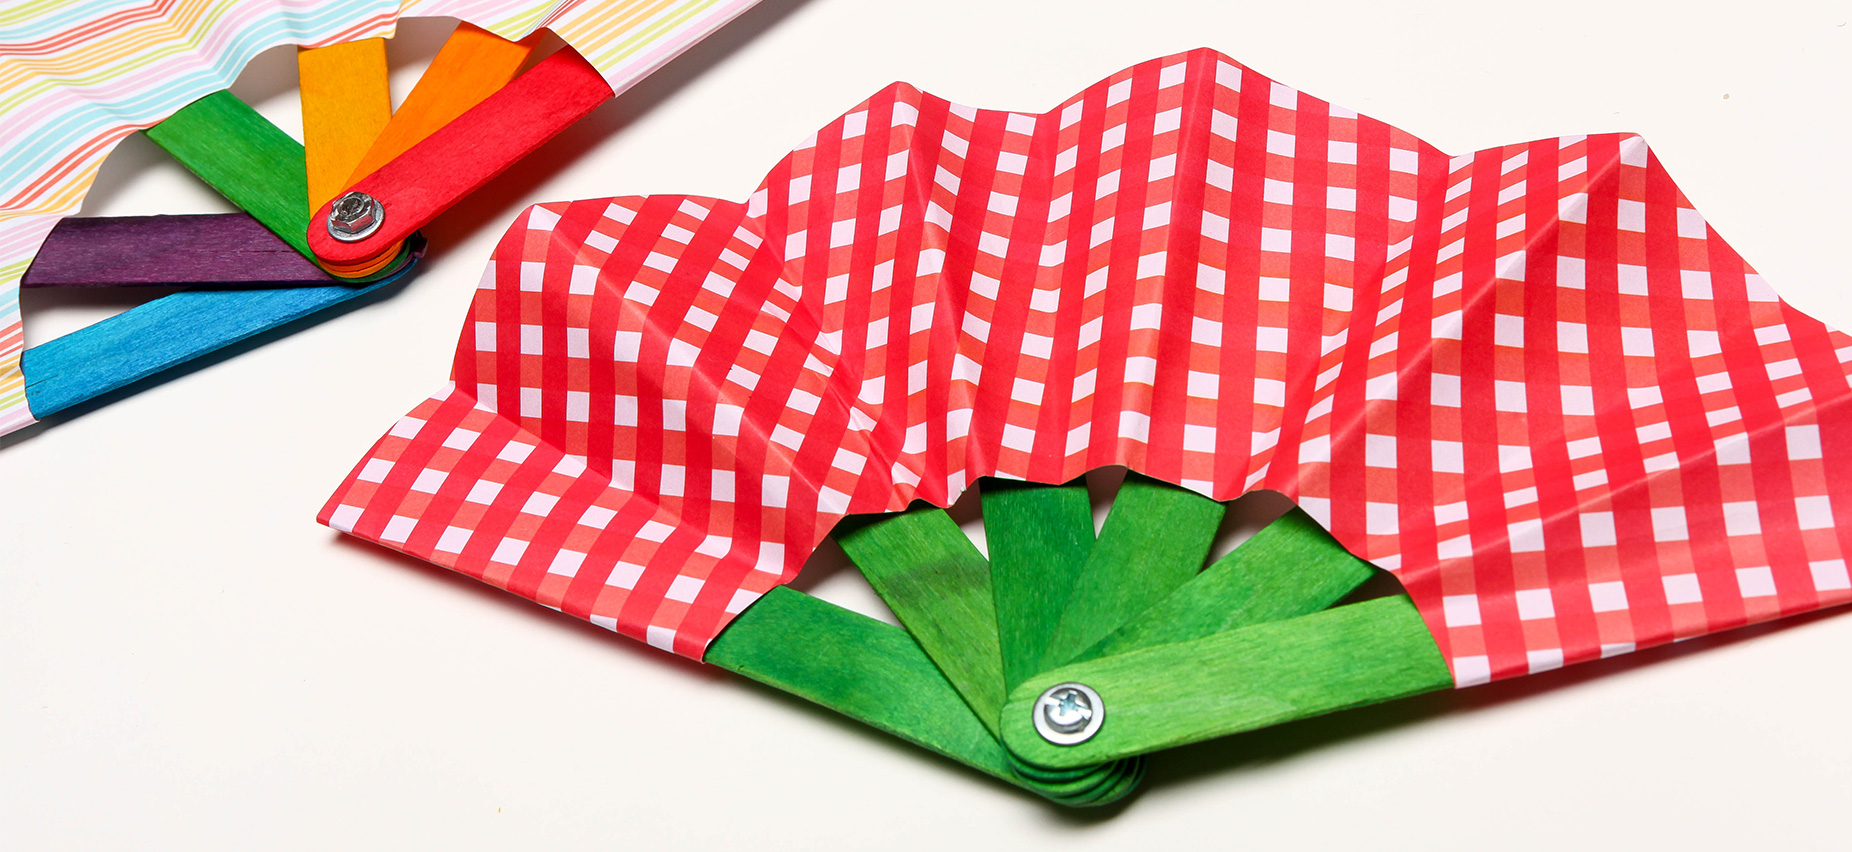
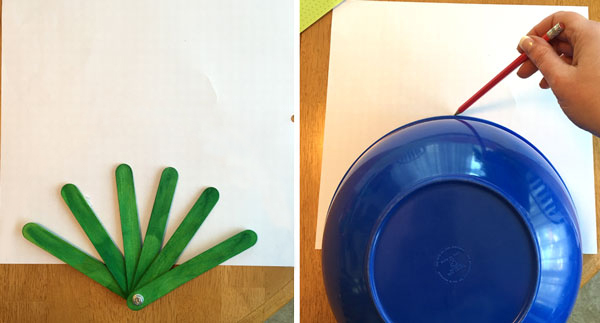
- Spread your craft sticks out so that they are evenly spaced.
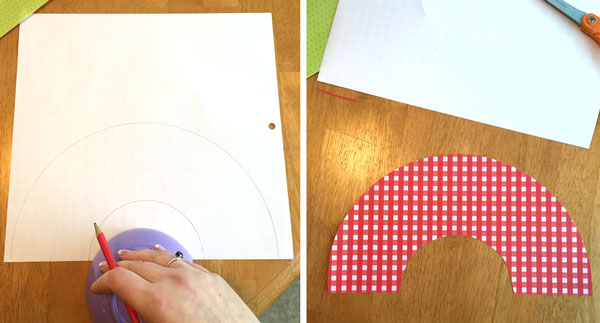
- Using a large mixing bowl, trace the outer part of the fan.
- Using a smaller bowl or round shape, trace the bottom arc of the fan.
- Cut out your shape.
- Align your craft sticks with your arc.
- Fold over the outer corner of your paper arc around the outermost craft stick and affix with either glue, hot glue or permanent craft tape. Repeat on the other side.
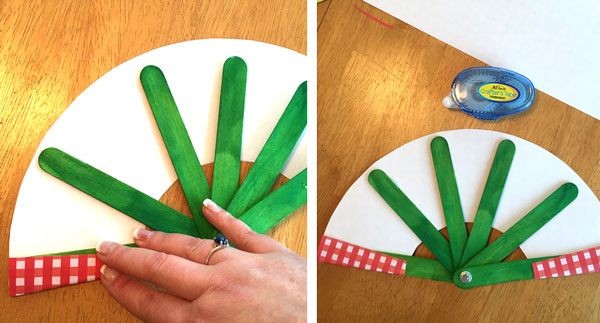
- Finish attaching the other sticks to your paper arc and let the glue dry.
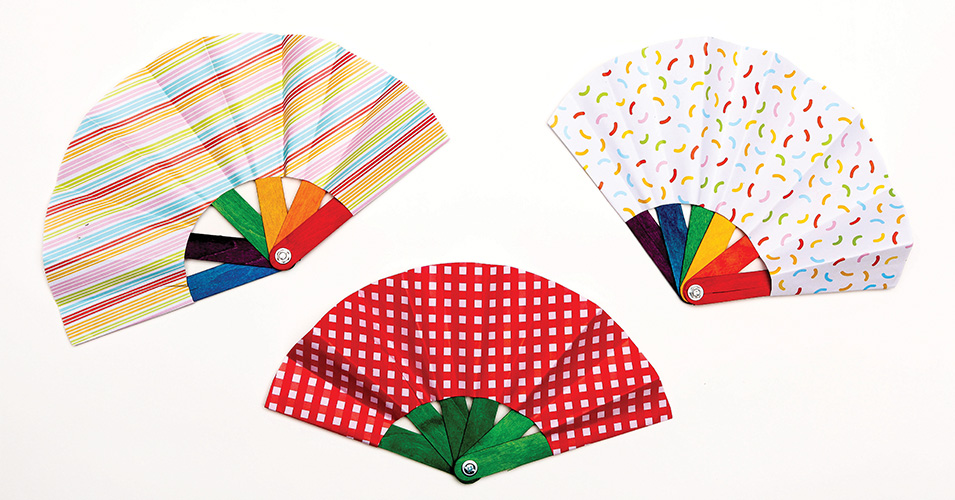
- Carefully, begin folding your fan closed, making sure to create a good crease with each fold.
- Open your fan! You did it!